Step 6. Attaching Strengthening Struts
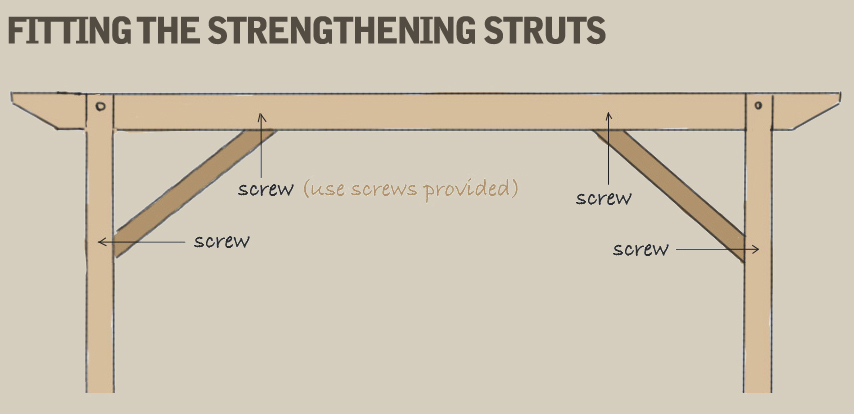
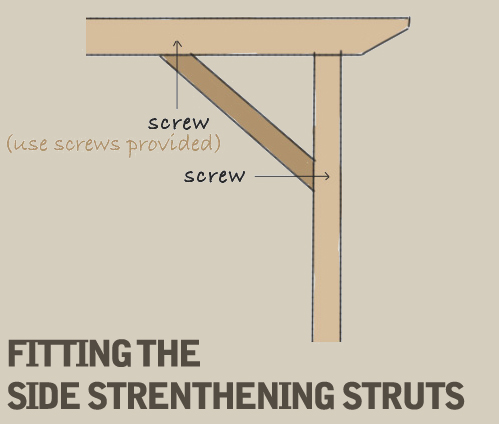
These are provided not only for the strengthening of the whole structure but they also look good and help bring the whole project to an attractive conclusion. Please see Figs 23 & 24 below for fixing instructions of the strengthening strut from the main beam to the post (Fig23) and from the outside rafter to the post (Fig24). These strengthening struts have been pre-cut at an angle of 45 degrees so when you offer them up to the main beam and rafter for fixing you may find that a small gap appears and that one of the cut faces does not fit flush with either the rafter or main beam. This occurs if the structure of the pergola is not quite square and is slightly out of alignment or the 45 degree angle has changed due to the timber expanding or contracting due to weather conditions. If you find that this has happened try offering up another strengthening strut or invert the strengthening strut you are holding to see if the fit is better. Choose the stregthening strut that fits best and fix using the pre-drilled holes at either end with the 2 inch (50mm) screws provided and you will find that this will help to pull the whole structure together and help reduce any gaps that may have occured.
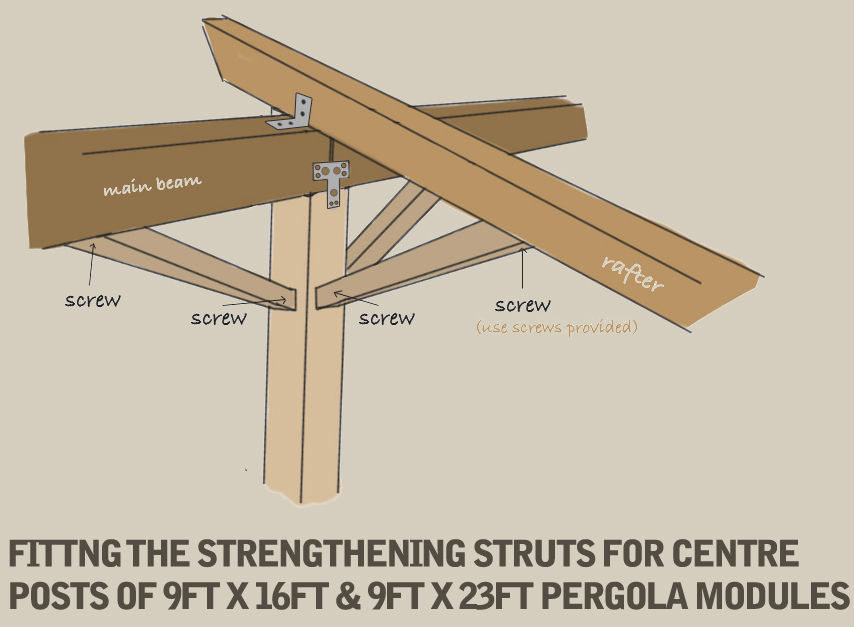
If you have specified a either a 9ft x 16ft or a 9ft x 23ft pergola, we have provided another 3 struts (per extra post) for attaching to the rafter, main beam and post for added strength and continuity. See Fig25
(*NB these drawings are for representation purposes only and not to scale)